MongoDB GUI is a NoSQL database that is extremely popular for its convenience and features. There is no SQL here, which means it is a mechanism for processing data patterned in tabular format and storing it in a database. It is faster in speed, and easy to scale. One of the parts of Mongo's functioning is creating and adding new users to the system. It is easy enough if you have purchased our new product — NoSQL Manager. With it, you can easily make up specific databases, and the user will have access to this unique database. You can likewise specify the access level for this client in the database. MongoDB contains a considerable number of roles. By creating a user using our console, you can assign them one or more functions, thereby regulating access to your database.
Understanding the user’s database
When you install a new instance of MongoDB, an admin database is automatically created. It is a particular database that provides functionality not available in regular databases. Some roles give users the authority to manage multiple databases, and these roles can only be created in the administrator's database. To create a user with the authority to manage all databases, you must add the user to the administrator's database. When validating credentials, MongoDB will validate the account against the specified database and the admin one. It's easy to do this with the NoSQL Manager:
1. First, you need to create a database administrator in NoSQL Manager.
By default, access control (authorization) is disabled, so any person can connect to a just installed MongoDB server from allowed IP addresses. But do not worry, remote connections are not allowed by default also. In other words - if you have a fresh, just installed MongoDB instance, you can connect to it without authorization, but only from localhost. This means your client software (NoSQL Manager) should be started on the same computer where your MongoDB server is installed. Or you can use SSH tunneling feature. In this case your MongoDB instance recognizes your connection as established from localhost, but only in case if your SSH server and MongoDB server are located on the same host.
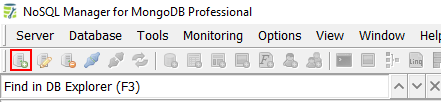
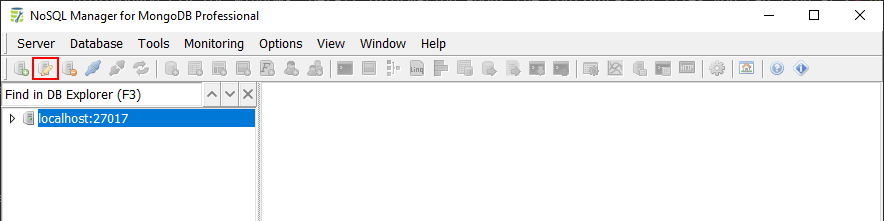
Open NoSQL Manager and click New MongoDB Connection button in the toolbar.
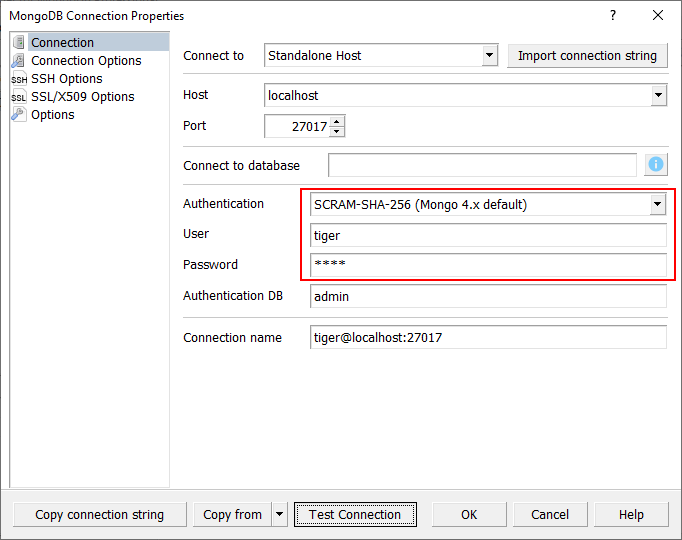
Next, specify your MongoDB host and port. Leave fields as-is if you are connecting to a local instance.
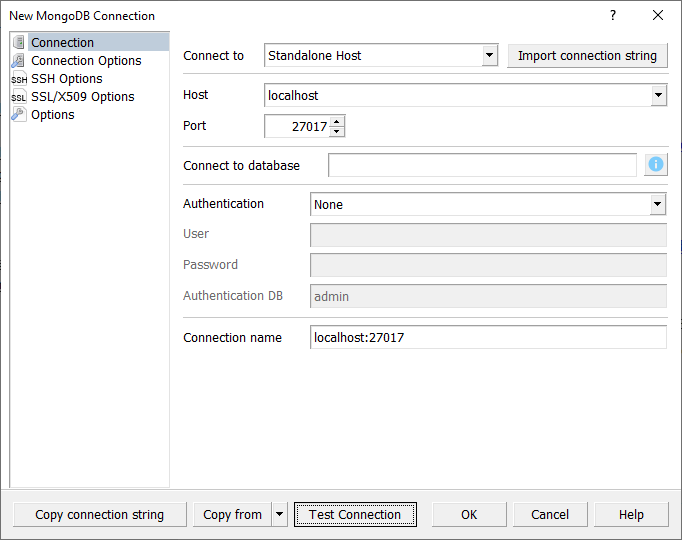
Test your connection with Test Connection button and click OK to save the connection.
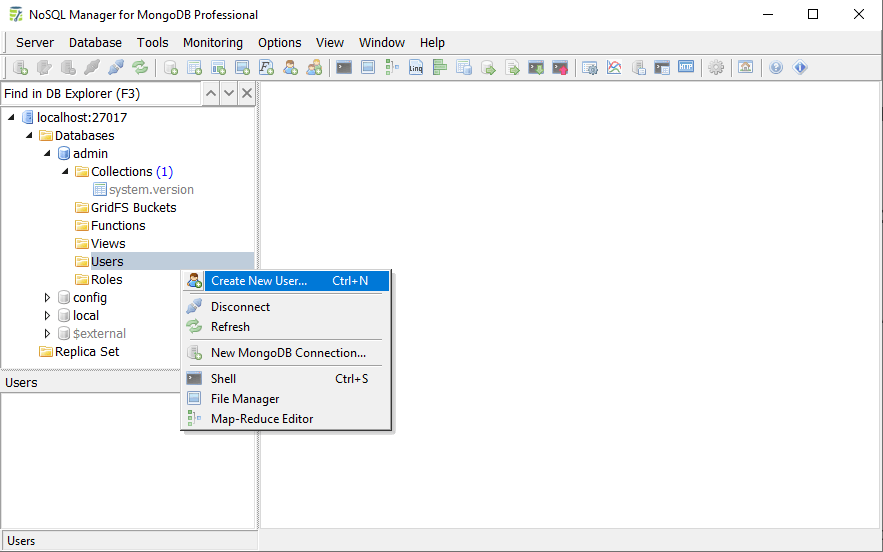
Click double on your connection in DB Explorer, click double on the admin database, next click Main Menu|Database|Create New User... or click right on Users in DB Explorer and click Create New User in the context menu.
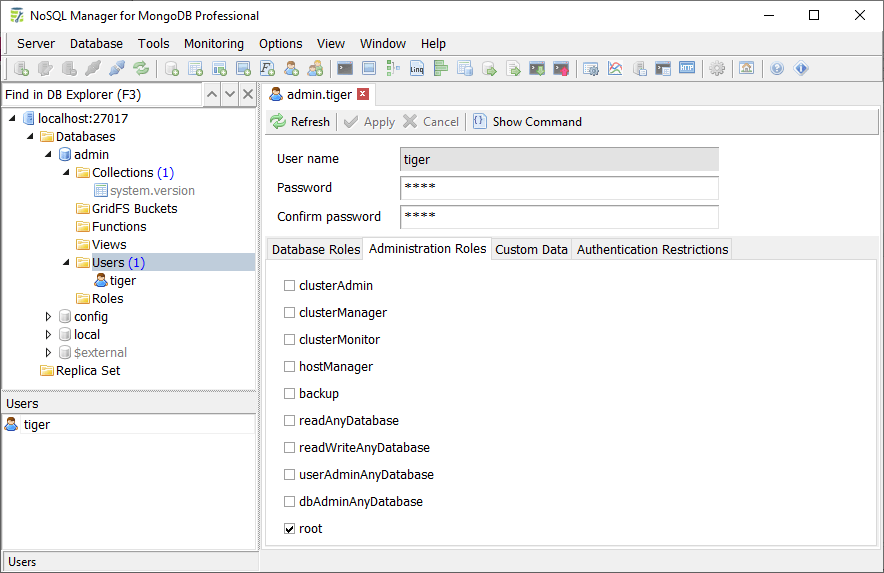
Specify the user name and password. For example we use the tiger name.
Go to Administration Roles tab and check on the root role.
Next click Apply button to create the user.
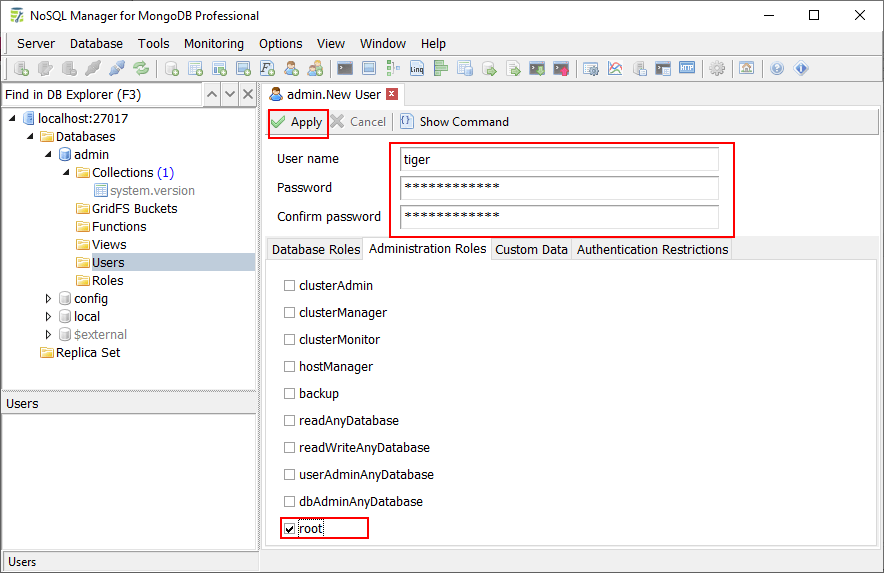
You have created the tiger user with root privileges. The root role is a combination of readWriteAnyDatabase, dbAdminAnyDatabase, userAdminAnyDatabase,
clusterAdmin, restore and backup roles.
Disconnect the server before the next step.
2. Enable authentication for your MongoDB instance.
As you already know, access control (authorization) is disabled by default. This paragraph describes how to enable the authentication for an instance.
Stop your MongoDB instance and open the configuration file. The file is usually located at /etc/mongod.conf for Linux, <install directory>\bin\mongod.cfg for Windows. Detail information about the configuration files you can find at MongoDB web-site.
The minimal configuration file is:
storage:
    dbPath: /data/db
net:
  port: 27017
  bindIp: 127.0.0.1
You need to add the following options to this file.
security:
  authorization: enabled
setParameter:
  authenticationMechanisms: "SCRAM-SHA-256"
This means enable authentication using SCRAM-SHA-256 algorithm.
Restart your MongoDB instance.
3. Switch to the database administrator user in the NoSQL Manager.
Open NoSQL Manager, select your connection in DB Explorer and click Edit MongoDB Connection button in the toolbar.
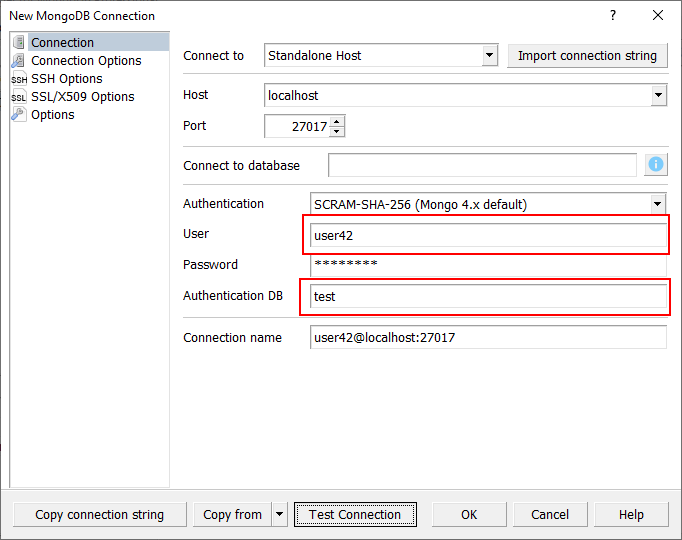
Edit the Authentication, User and Password fields as described below and click OK to save the chages.
Connect to your instance in NoSQL Manager. Now you can add, edit and remove users and roles.
4. Create a user with specific privileges.
In this example we will create a limited user user42 that has read-only access to the test database only.
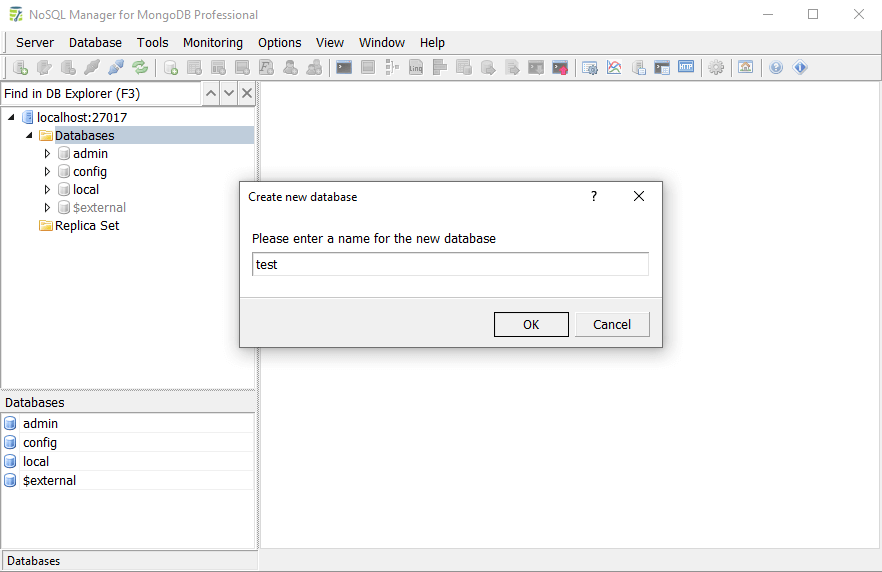
First, create the test database.
Next, connect to the test database and create a user.
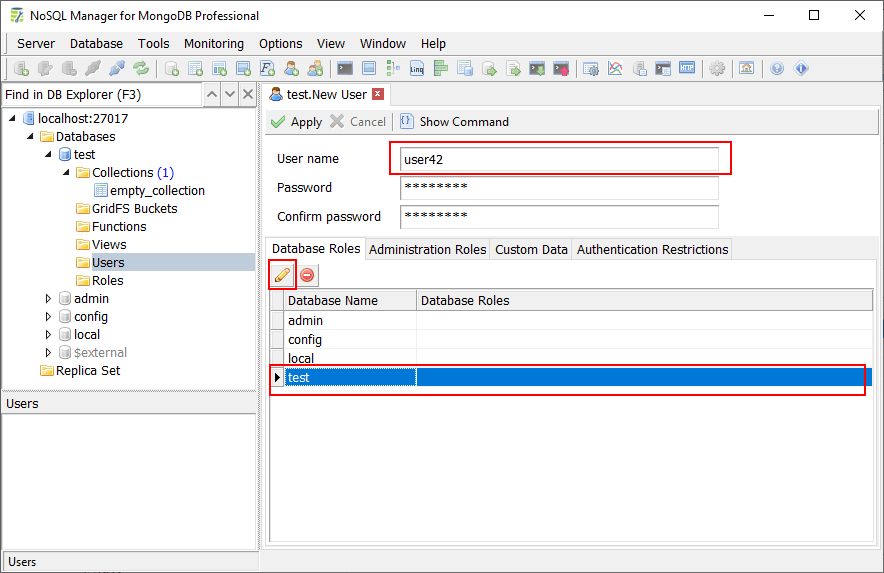
Specify the user name and password, select the test database on the Database Roles tab and click Edit Database Permission button.
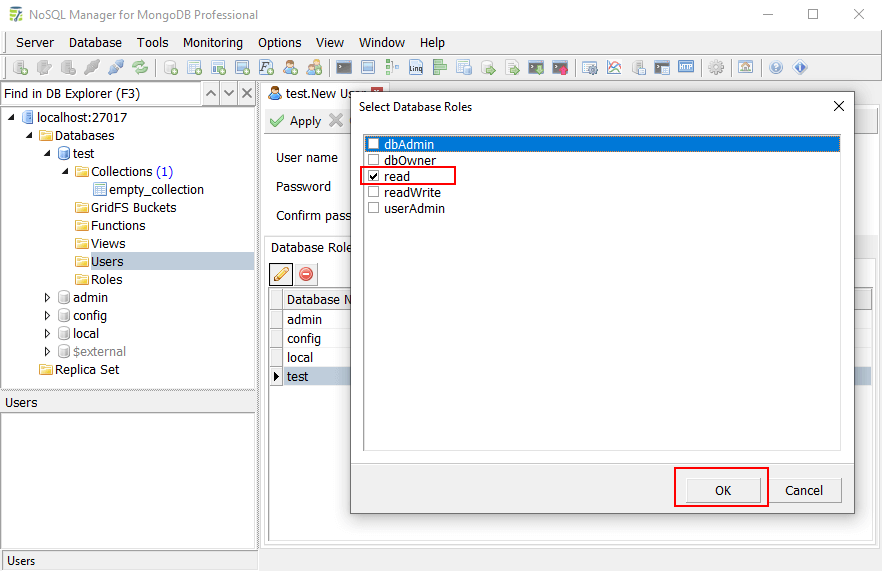
Check on the read role and click OK button.
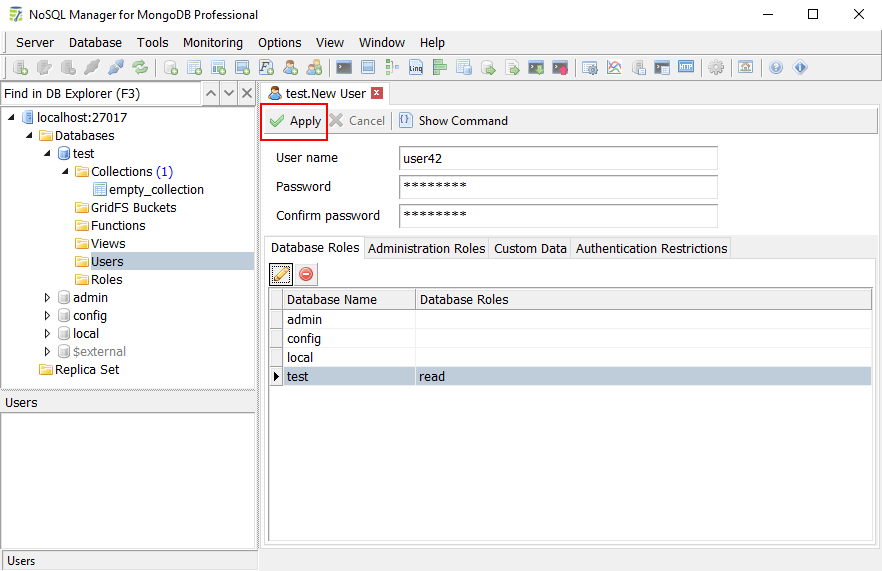
Click Apply to save user to the database.
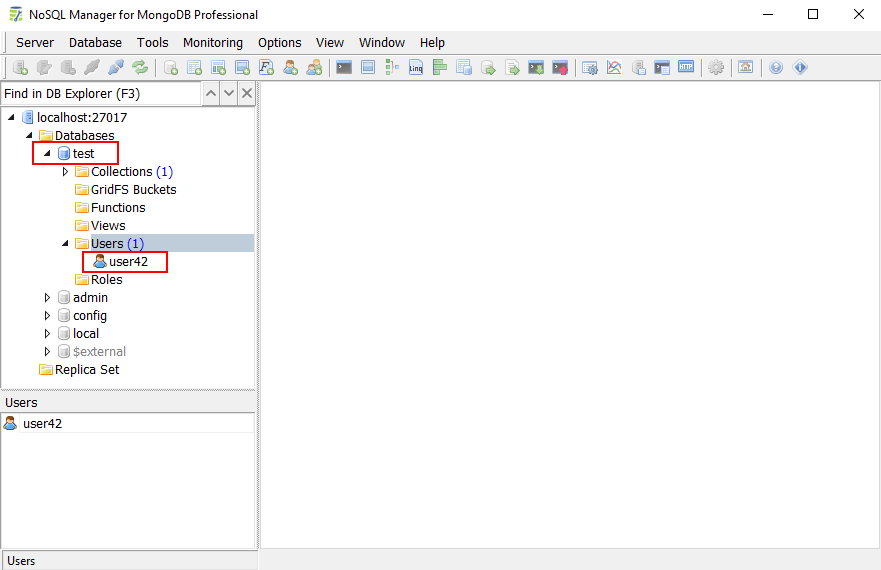
So, we have just created a limited user user42 in the test database.
Create a new MongoDB connection to test this user.
Next, connect to the MongoDB instance with the user42 user and try to execute any command that requires an extra privilege. Try to create a collection, for example.
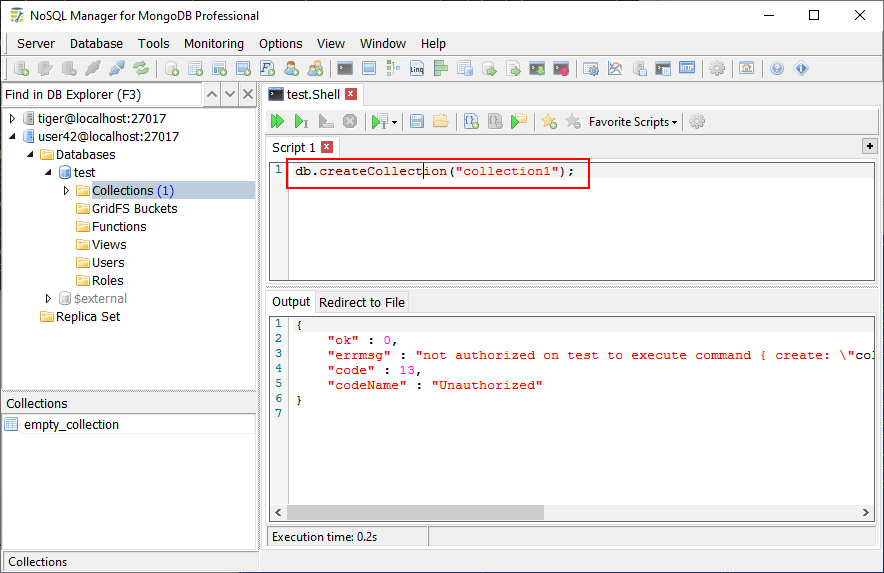
not authorized on test to execute command create error occurs, as expected.